Who Knew a simple bit of wallpapering would lead to so much trouble?
Every time I do DIY something seems to go wrong
We *cough* Mrs Jim *cough* decided that it was about time we turned my office/the spare room into the nursery for our little one who is due towards the end of August. Whilst a little upset I’m losing my office earlier than expected it makes sense as the closer we get to the little one being here the fewer opportunities we will have to get it done.
So a couple of weeks ago we moved everything out of the Office, set up my desk in the bedroom and then started covering everything that’s not getting painted in plastic sheets (aka bin bags taped to the floor) and started on the painting. Things were going along really well until it was time to start wallpapering the feature wall.
At first, we thought, We only wallpapered 12 months ago when giving the office a makeover so we can just wallpaper over the top and use the smooth surface we spent days getting right as a base.
So we set up the pasting table, mixed the paste, cust our first length of wallpaper and lathered our first run and put it on the wall. The problem was that whilst the wallpaper stuck to the previous wallpaper. The paste soaked into the layer underneath and started falling off. But when the top layer fell off it also took 5 other layers with it taking that part of the wall back to the plaster.
You can imagine, we weren’t best pleased to find so many layers of wallpaper from previous tenants still up on the wall. Never mind the state of the plaster underneath. So we set to work taking off all of the wallpaper we could get our hands on without damaging the wall anymore. It turns out that the plaster on the bottom right-hand side had actually come away from the lats beneath.
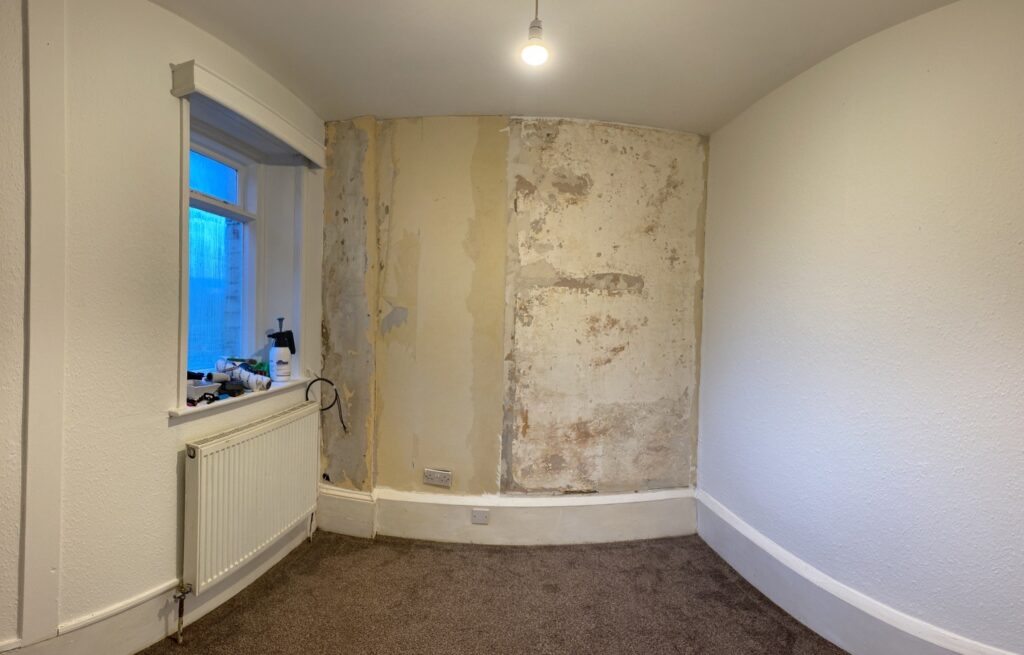

We had a word with Mrs Jim’s Folks, who have been renovating their home for the last few years for some advice. Turns out, that in order to fix the issue, and have a smooth surface to work with, we needed to either go around filling in all of the holes in the plaster, rip down the lime plaster and lats and start from scratch (we defiantly can’t do this as the property is rented) or get some plasterboards and put them over the top with some really long fixings.
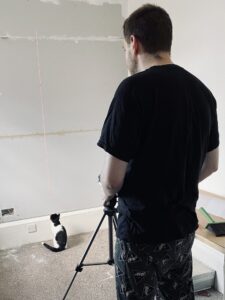
We went with the plasterboard option, as you can see in the pic to the left. This was something I’ve seen done before but never done myself. So after watching a few YouTube videos, we got some boards and started attaching them to the wall with some nome more nails type stuff and driving massively long screws through the boards and into the brickwork behind.
Mrs Jim then went around filling the gaps between the boards whilst I sorted out the little square to the bottom left of the wall. For some reason, that part of the wall had a hole in it that previous tenants just papered over.
After 2 weeks of hard work in the evenings, It was finally time to get back to our original task. Putting up the wallpaper.
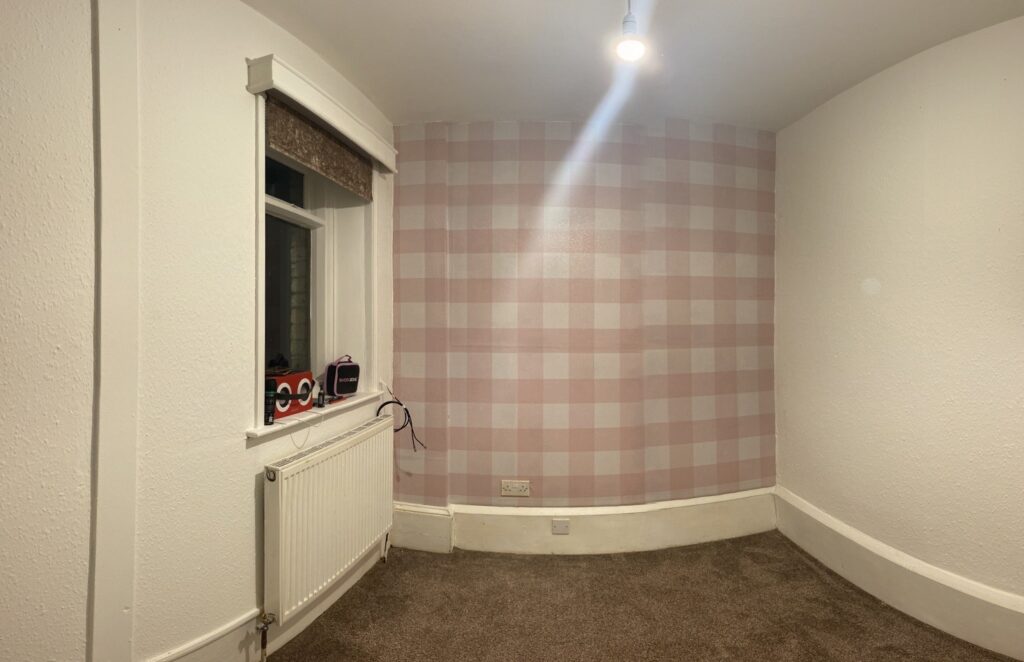
This went surprisingly well considering all the other problems we had come across and only took us a couple of hours and I have to say (the dodgy paint-covered plug socket aside) the wallpaper looks really good.
Though the picture on the right makes it look like we’ve misaligned the wallpaper it’s fine.
I was using the panorama setting on my gimble and it had a few issues.
Over the weekend, whilst Mrs Jim was away Seeing Rammstein in Coventry, I swapped out the light switch and sockets in the room from the paint-covered things that had been in for years for some shiny new ones.
I thought this would be a relatively simple process as I used to be an apprentice electrician and this was the type of thing I would do every day. Turns out that there’s been a few cowboys doing work here in the past. One of the sockets couldn’t be removed easily because the expanding foam used to fill a gap around the back box had expanded so much it had moulded to the inside of the socket.
After wrestling with that socket and getting the other one changed the only other problem to crop up was that I’d put the light switch on upside down (something I always end up doing). There’s still a bit of a gap behind the top of the lightswitch and the socket by the door looks as if it’s embedded in the wall rather than on top of it but these are relatively small issues I can fix with some small sections of plasterboard or by buying plates to surround the switch and socket. I’ll figure something out for them.
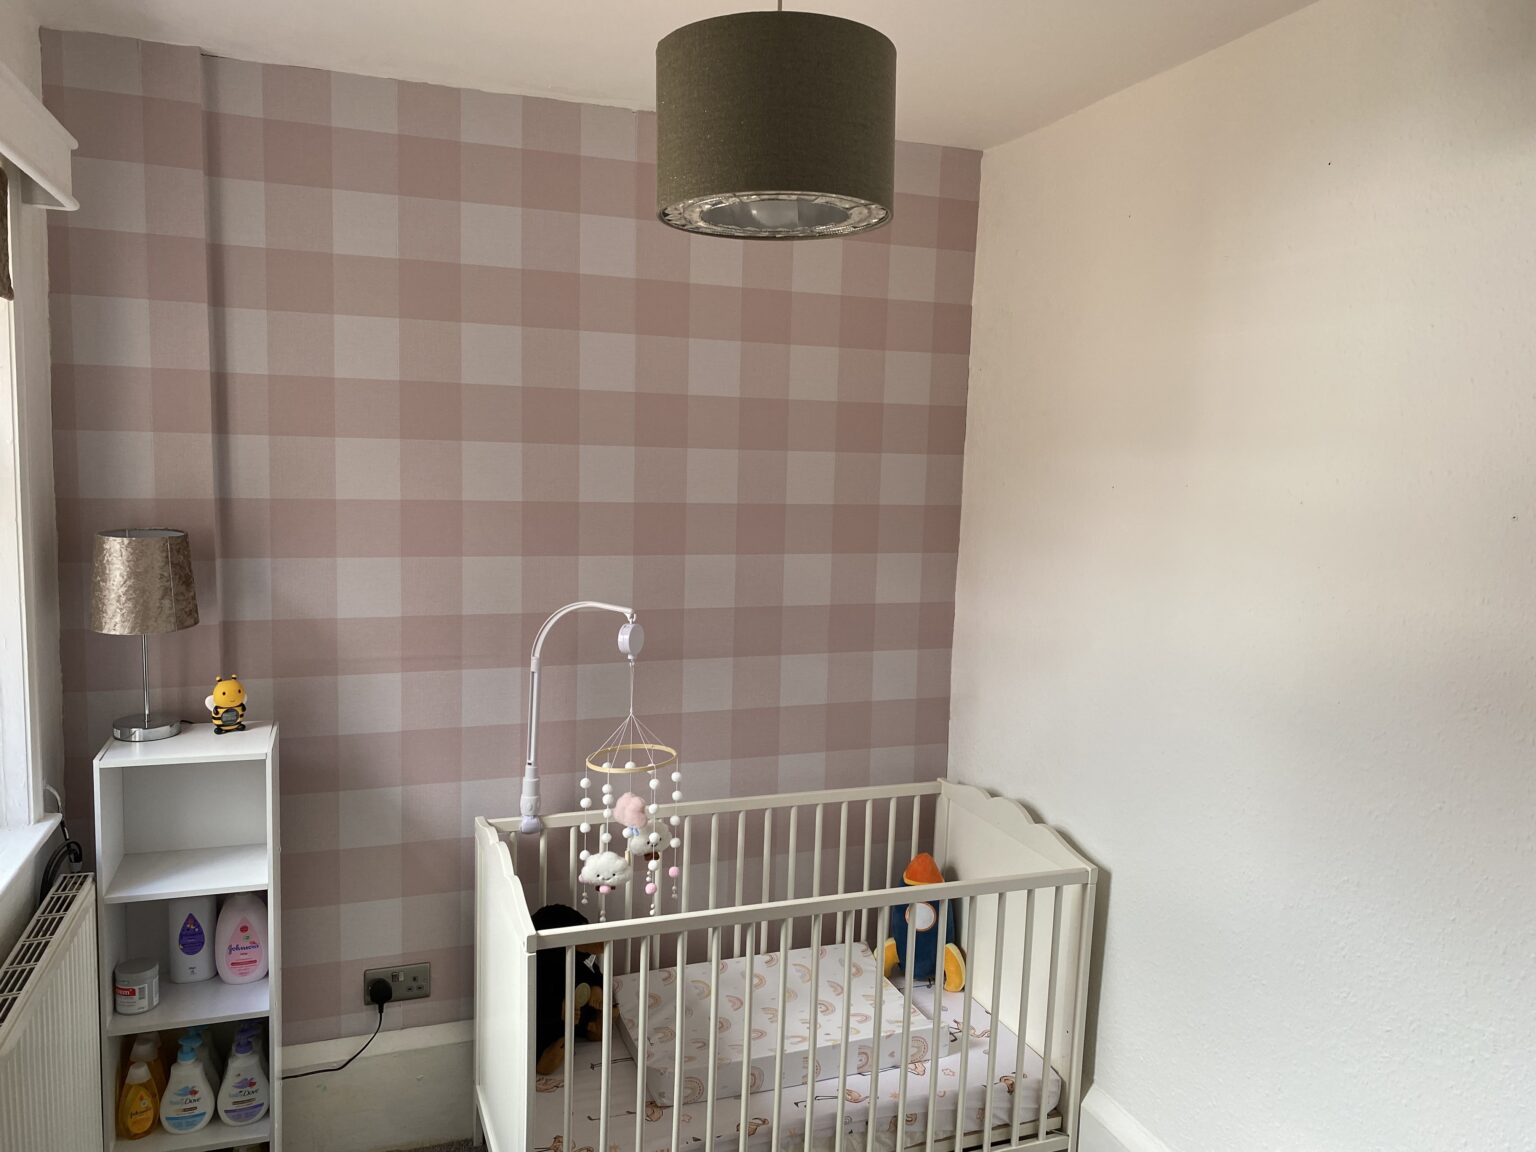
All that is really left for us to do is get the rest of the furniture and buy some shelves and wall art but we have plenty of time for that. The shelves won’t take long to put up… well at least I hope so I thought that about the wallpaper!