Elgato virtual trainer setup
An introduction to Elgato
In my previous post, I had a look at what it would cost to create a Blackmagic Design Streaming setup for when I’m delivering training. By the end of the post, I discovered, without much surprise, that using professional video cameras is not the way to go as they are very expensive, along with the rest of the gear involved.
So this week I thought I’d have a look at the products on offer from Elgato. For those of you who aren’t aware Elgato has been making products for streams for years, and from what I have found out, they started by making capture cards that allowed streams to bring in outside video sources into their live streams.
They have recently released a new range of products called Neo and I thought I’d compare the different versions of their products and see what they offer that could help me produce my training sessions.
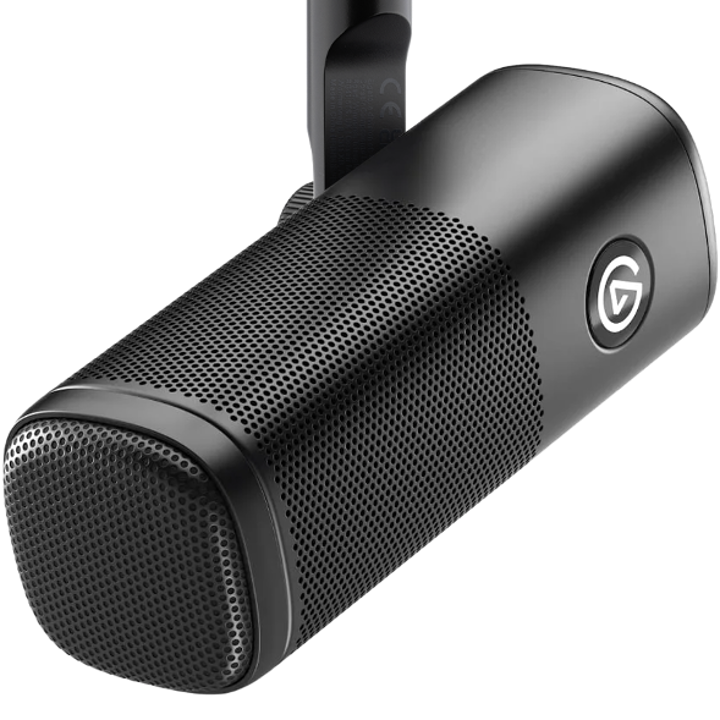
Cameras
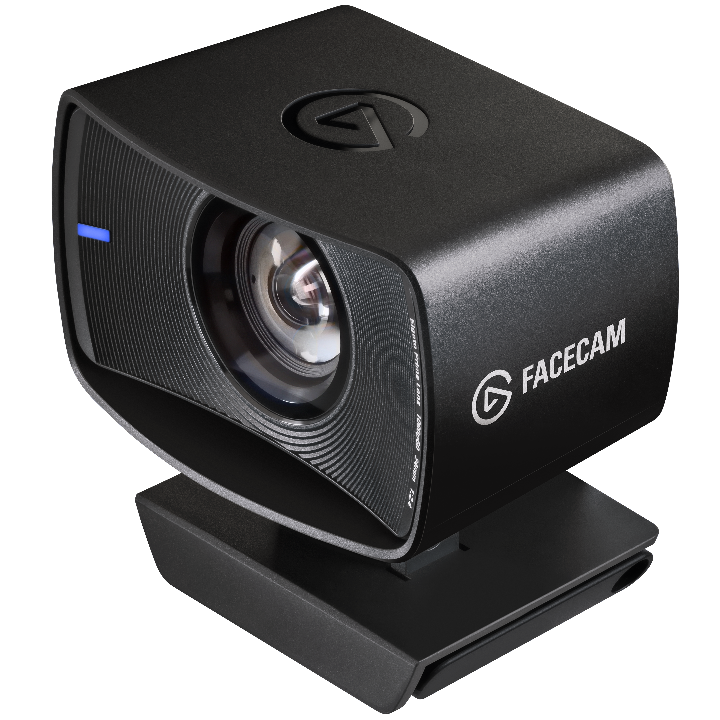
Elgato produce four different cameras the new Neo, the Facecam Mk.2, The Facecam Pro & The Facecam. Rather than write out paragraphs about each one though I thought It might be a bit easier to spot the differences by using a comparison chart.
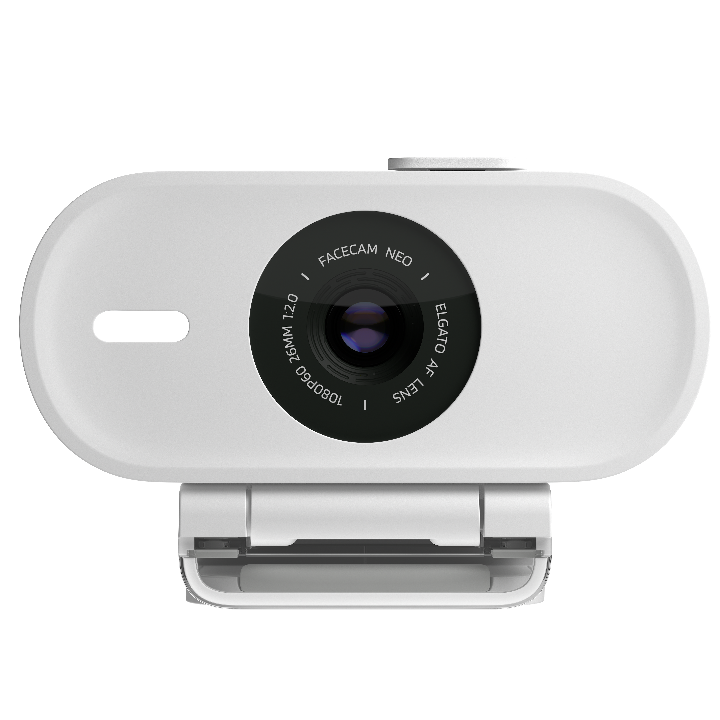

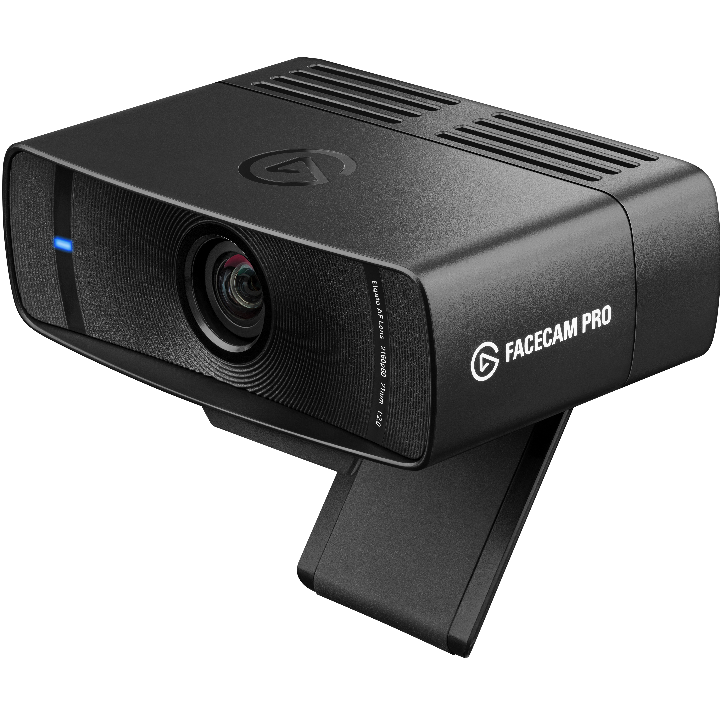
There isn’t much of a price difference between the Facecam Neo, Facecam and Facecam Mk.2 and of the three I think I would go with the Facecam Mk.2. As much as I love that the Facecam Pro is a 4K camera I don’t particularly want to pay extra for the reduced focal length, the lack of variable focus or the SDR video quality. 1080P is fine for the training I deliver and I don’t particularly want to be uploading a live 4K stream.
Prompter
Now, This may not be an essential item, but being able to look as if I am looking directly into the camera whilst reading the content I am delivering would make the engagement a lot better, as well as make it look like I know what I’m talking about.
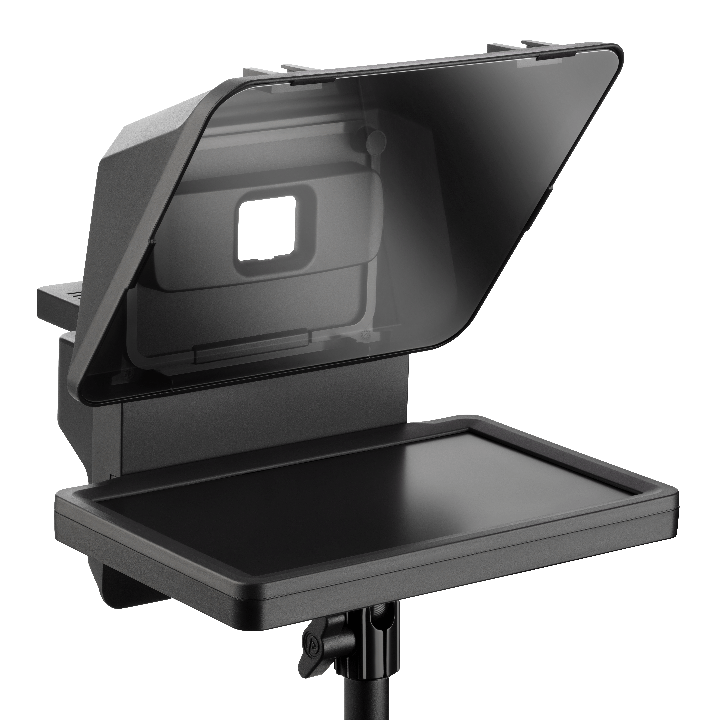
Last year Elgato introduced its own Prompter. It comes with a variety of camera mounting options, including a mounting plate for its Face Cam Camera, to make sure there is no light spilling coming from the rear of the prompter, giving you a nice clear image reflected from the screen to the 2-way mirror surface.
It is a little on the pricey side at £279.99 but with the built-in display link technology all you need is one USB cable and the prompter will work as if it was an additional 9″ (1024 x 600 px) screen you can drag content to.
For me and my use case, it’s a no-brainer it will make delivering a presentation so much better being able to read the presenter’s notes whilst still talking to my learners without having to look away every 10 seconds.
Microphones
A few years ago Elgato launched its first microphone in partnership with Lewit (a high-end microphone maker) and I remember at the time thinking I needed to get my hands on one of these as they sound amazing. They have a USB interface and work in partnership with the Elgato Wave Link Software which enables you to have two streams of audio. One that you hear and one that your listeners/watchers hear. This alone piqued my interest, then I heard the audio quality and since then I have been trying to find an excuse big enough for my wife to let me buy one.
Since then they have released two more microphones the Wave DX which has an XLR output and the brand-new Wave Neo. If you already have an audio interface the Wave DX is a steal as you get an amazing sounding microphone and a great price. If you don’t have an interface then Elgato sell one of those too, The Wave XLR for £159.99. If you don’t have an interface already I’d recommend going for the Wave Neo or the Wave:3.
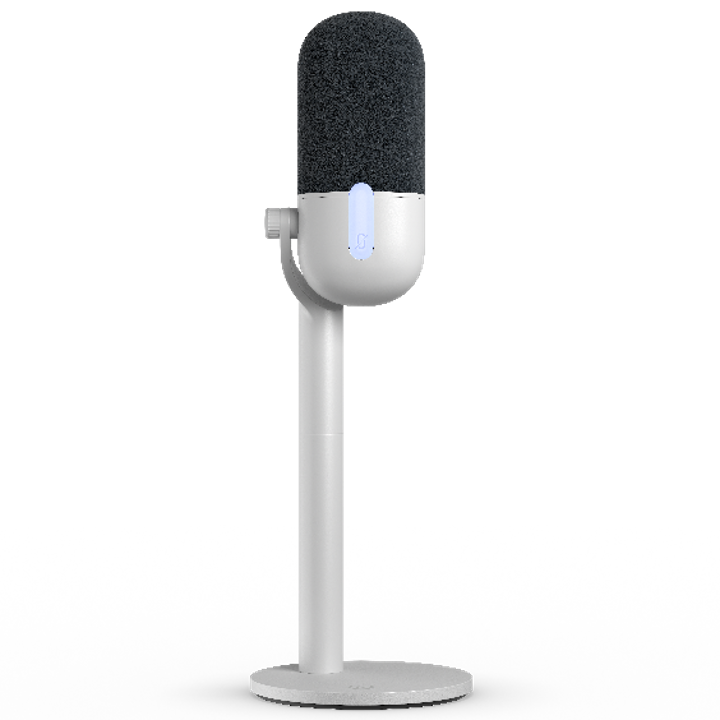
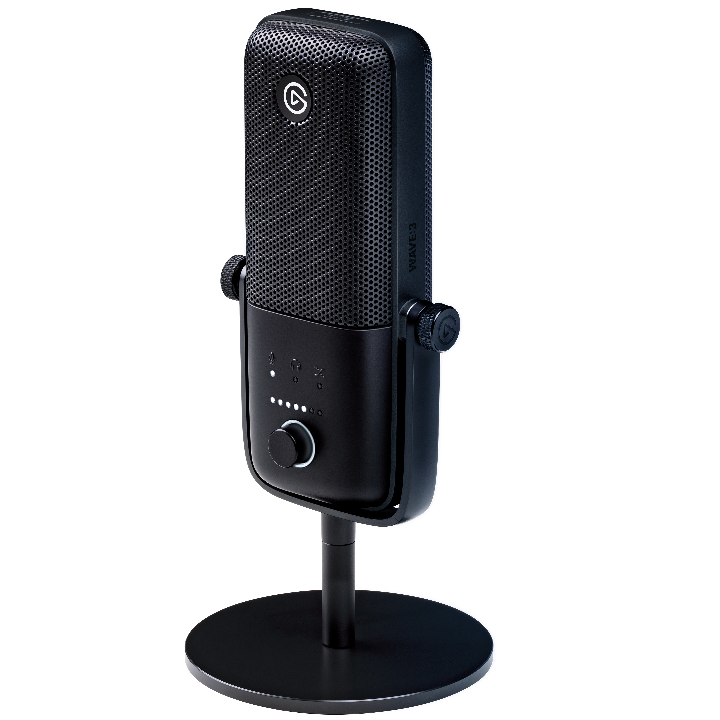
Looking at the specs above I would personally go with the Wave:3. You get the higher Frequency response, sensitivity and dynamic range and from the multiple streams I have heard that use this microphone I absolutely love the sound of it.
Wave Mic Arm LP
As with most products these days, Elgatos sells accessories for their microphones and one that would come in handy for me is the Wave Mic Arm LP which retails for £89.99. My current microphone is clipped to the front of my desk and is the 2nd most annoying thing about my desk setup (the 1st is knee room). It’s great for cable management as you can run the cable inside the arm and I can swing it out of the way when not in use too.
Software Control
A Few years ago, Elgato released its first software control Product, The Stream Deck. The Stream Deck features 15 customizable LCD keys to control apps and platforms. In later years they also launched the Elgato Marketplace for app plugins, icons and track effects.
The idea behind the Stream deck is that with either dedicated plugins or keyboard shortcuts you can control just about any software on your computer from a small device that sits on your desk. This is great for content creators or streamers who do live broadcasts but also from a productivity perspective.
In this instance, I’ll be using the Stream deck to control the video feeds. From what I can tell, there isn’t a shortcut or plugin that allows you to change the source of your camera in teams and this would need to be done manually each time I wanted to change the camera or video feed. Not ideal. We can use software such as OBS that gives you a software video switcher that also has a virtual camera output that teams can use as a camera input. Thankfully Stream Deck has plugins for both Teams and OBS.
Elgato makes 5 Variations on the Steam Deck, The Stream Deck Mini, The Stream Deck Mk.2, The Stream Deck XL, The Stream Deck Neo and the Stream Deck +. The Stream Deck Mini, Mk.2 and XL are all functionally the same but have more or less buttons on them (6 for the mini, 15 for the Mk.2 and 32 for the XL). So in the comparison table below, I’ll put them in one section together.

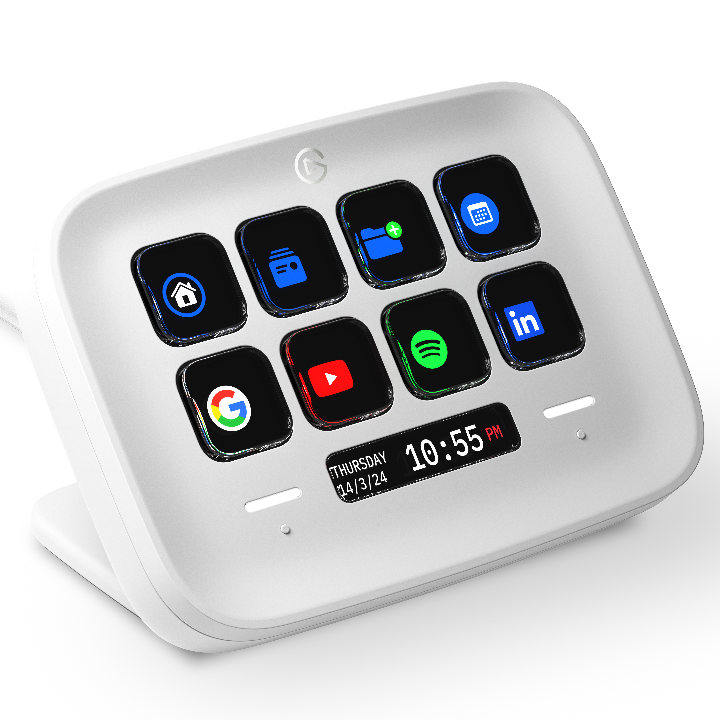
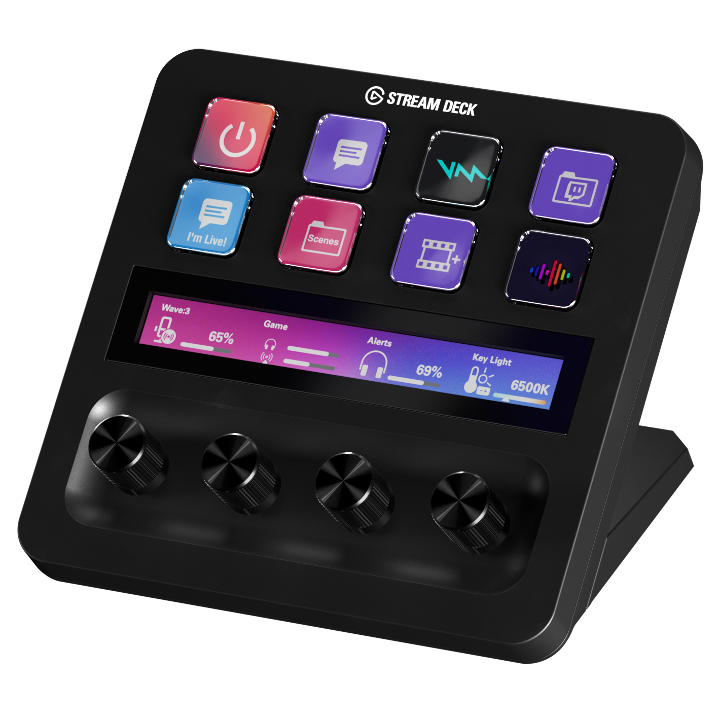
Whilst I would love the number of buttons on the XL due to the fact I’m going to need to change audio levels having the dedicated encoders on the Streamdeck Plus makes this the best choice for me. I just wish the price wasn’t so high. If they had the same encoders but 12 or 15 buttons I would be a bit happier with the near £300 price tag.
Lighting
We have a microphone to be heard and a camera to be seen but it’s not just about being seen it’s about being seen properly, not in shadow or funky light colours everywhere. Elgato has us covered here too. They have a variety of lights available in a variety of sizes. The main lights for visibility on the camera are all in the Key Light Range. There is a ring light for those who want a simple setup and the rings in the eyes look. They also have some LED Strips that can be used for decoration in the background.
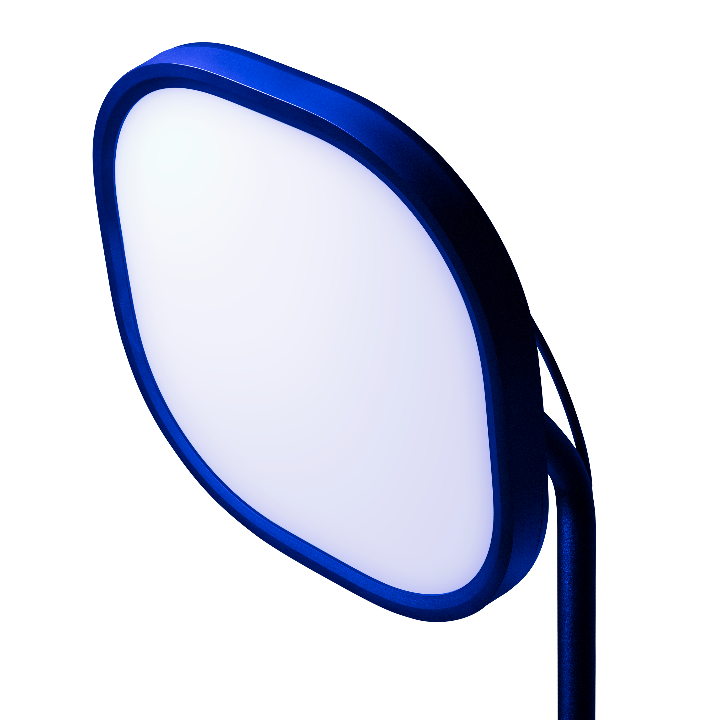
Ring Light
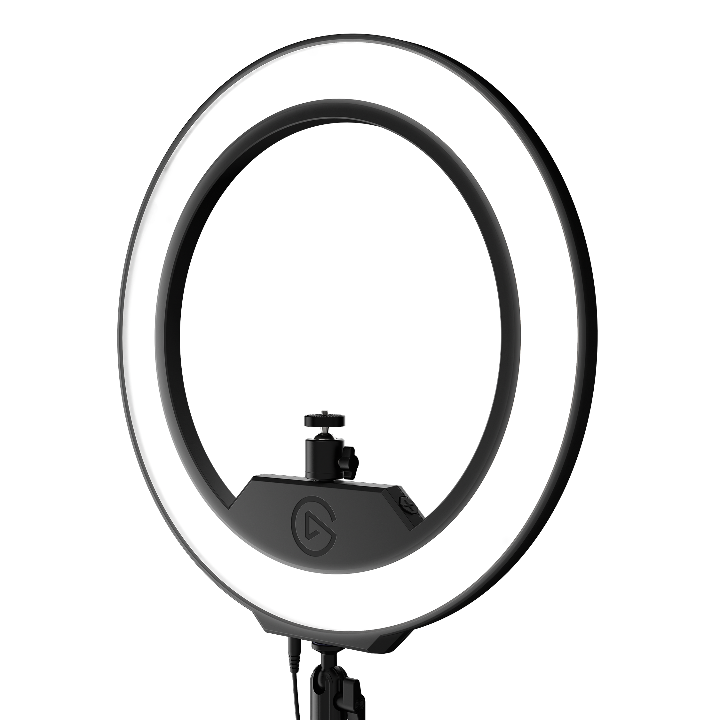
If you’re after a simple setup, or you’re looking for the rings in the eyes look, then look no further than the Elgato Ring Light. It’s a 17-inch-diameter light that you pop your camera in the middle of and it gives you an even front light. It is colour adjustable (2899-7000K) and is kinder to your eyes as it emits a soft and even glow. It is ultra bright at 2500 lumens and is fully dimmable allowing you to get the look you want. It’s available from Elgato Directly for £189.99.
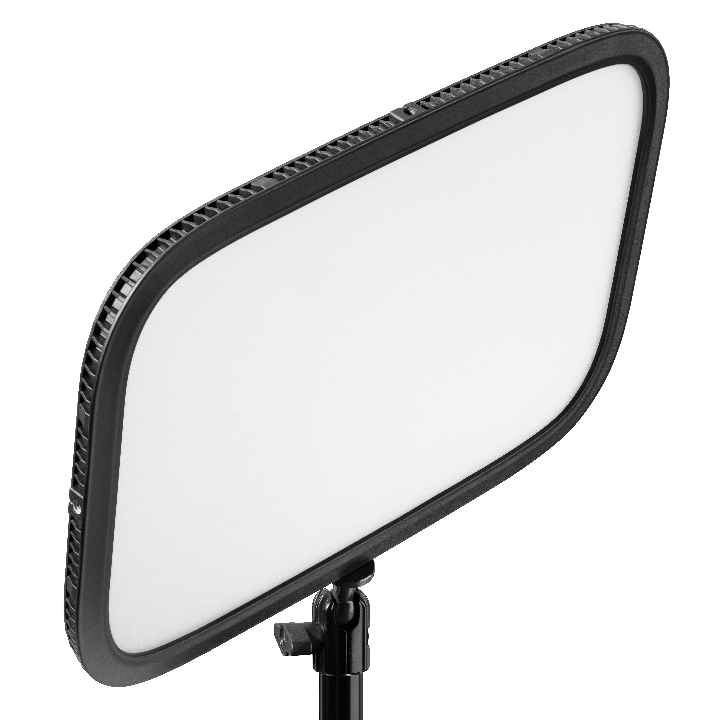
Key Lights
If you aren’t after the halo eyed look then you can go down the Key Light Route instead. For even light, I would recommend getting three of the same versions of the light, 2 in front of you (to the left and right) and one behind you to act as a hair light, this separates you from your background.
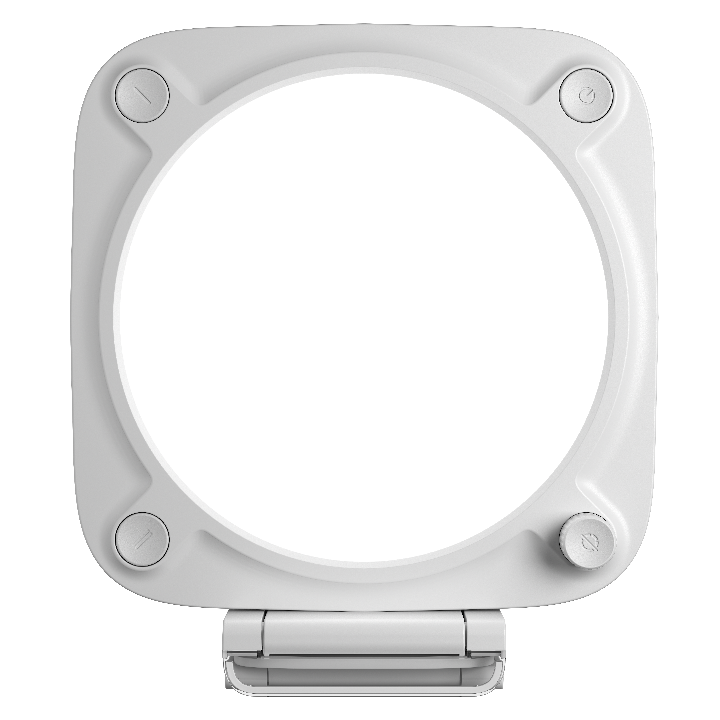
Elgato has 4 flavours of key light The Key Light, Key Light Neo, Key Light Air and Key Light Mini. I’ve left the Key Light mini out as it is designed for portability rather than being in a fixed position as we would be looking at for this setup.
As you can see below the main difference between all of the lights is their brightness. Basically the brighter you want your light the more you are going to pay, though with only £10 between the Key Light and Key Light air, I would recommend going for the Key Light you get twice as much brightness for such a small jump in price.
Green Screen
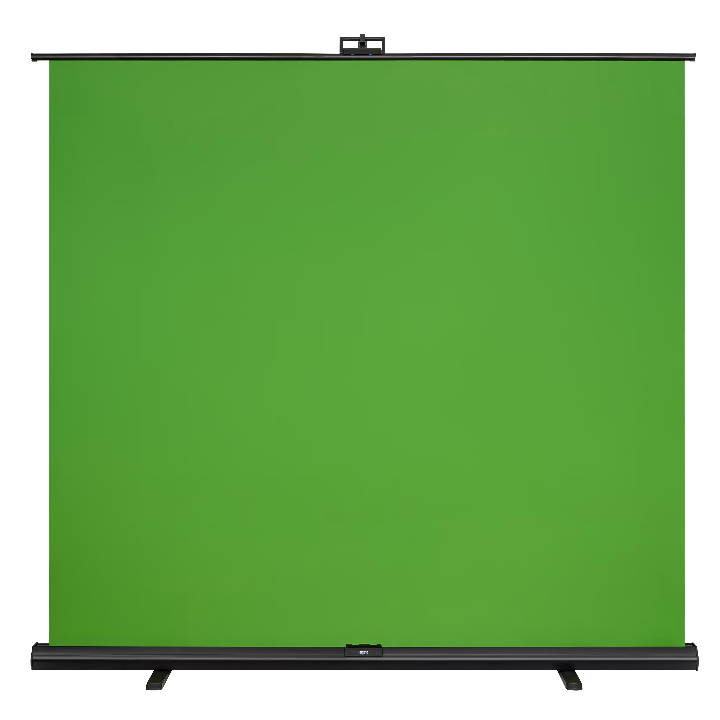
Having a green screen isn’t essential if you are happy with your learners seeing the room you are teaching from. If like me though you want to create a virtual environment you’ll need a green screen.
For those that aren’t aware, with a green screen you can perform movie magic and replace your background with anything you like. My eventual plan is to have a fully animated space that I can move about virtually depending on what I’m teaching.
If you are going for a multi-camera setup then I would recommend a green screen for each camera so you can make sure that your virtual background doesn’t stop halfway across your frame, when you try to share one screen between the two different angles.
Elgato offers two different screen sizes the standard and the XL. If you have the space I would recommend the XL as it is only £10 more expensive and gives you an extra 62cm of width.

Conclusion
The pricing on this is going to vary a vary amount depending on how far you want to go with it but for me, I’m looking at a 2-camera multi-cam setup with the Wave:3 Mic and Mic Arm, paired with the Stream Deck +. For Lighting, I’d be going with 3 of the Key Lights and one of each of the green screens as I don’t have the space for 2 of the larger XL models.
For me, that comes to a total of £1958.90, SO about £4,500 cheaper than the Blackmagic setup I priced up recently.
What do you think? What would you pick for your setup? If you went for a Green Screen or two what would you do with them? I’d love to know what you think.