Rigging for events: Part 6
Welcome to another edition of the Rigging for Events series. This time I’m going to be looking at how I would rig a larger venue using LED fixtures. If you’d like to view more posts in the Rigging for Events series then please check out the posts below.
In the realm of lighting, I’m guided by my Theory of (Lighting) Everything, which is now available on a dedicated page. Over time, I intend to enrich it with further details, drawing from the experiences I’ve accumulated during my time as a lighting technician. It’s a work in progress and I’d love to hear your thoughts. Let me know if you would like to get involved too.
The Venue
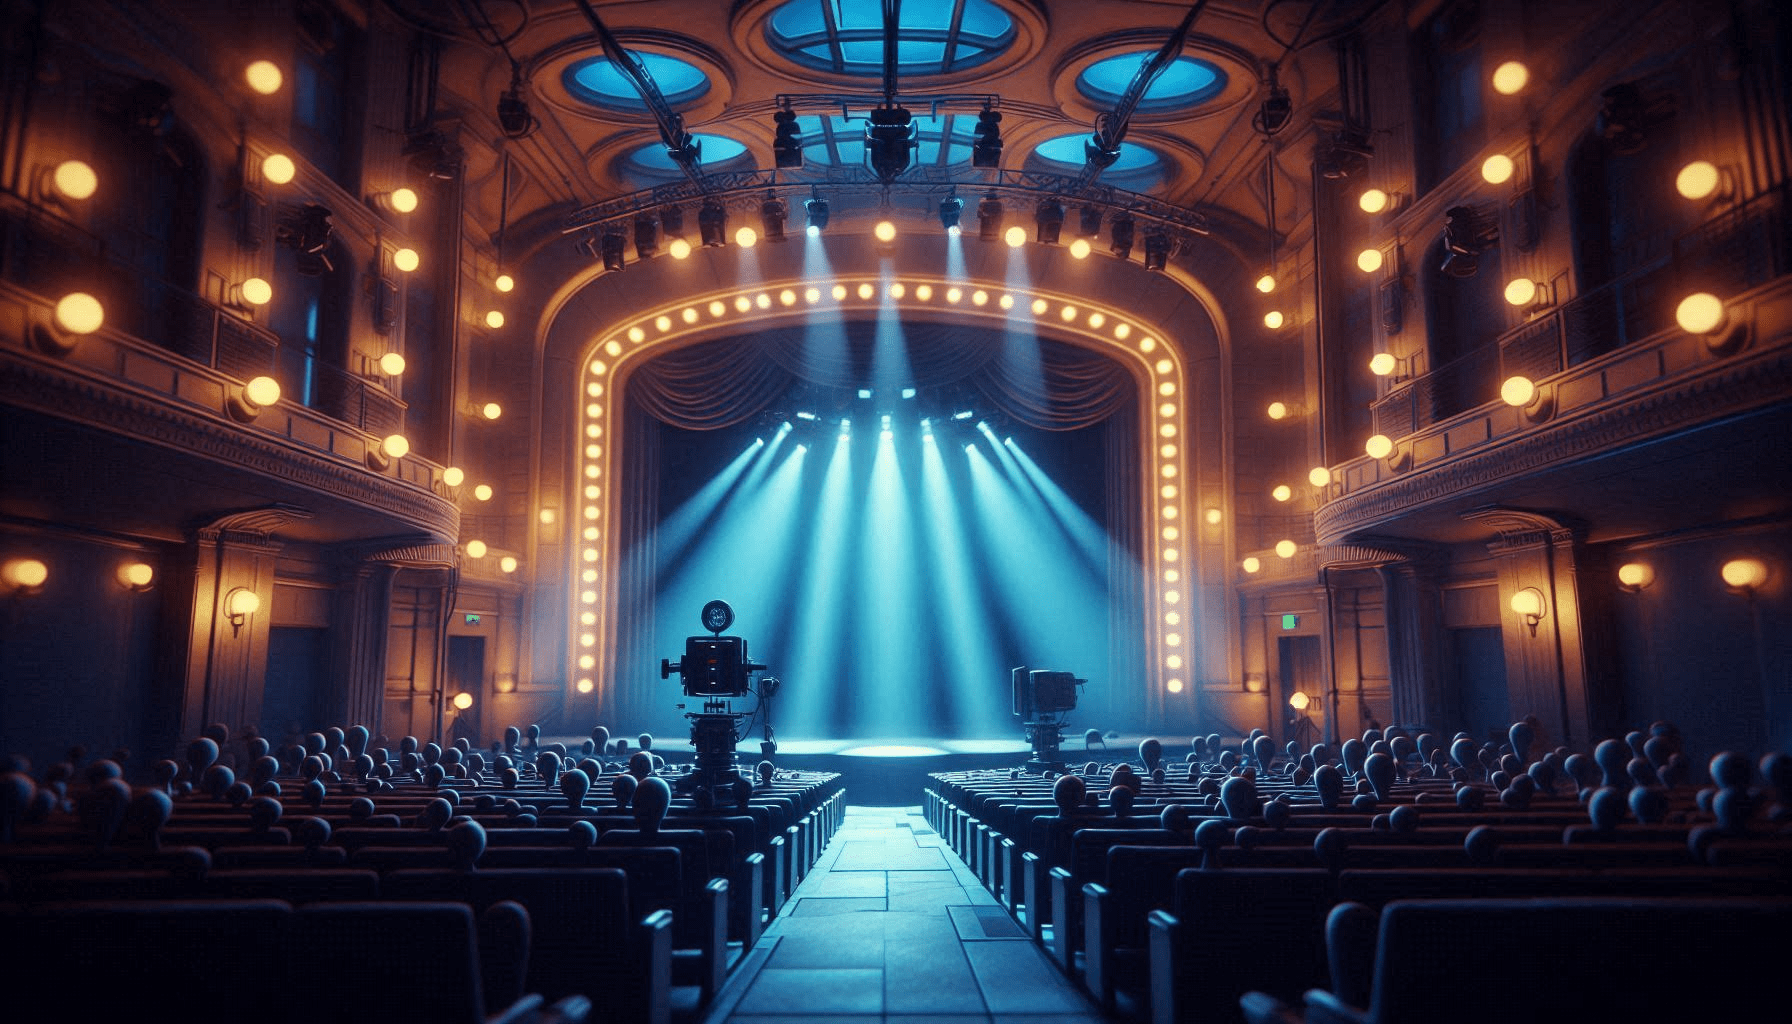
Moving on to the task at hand, I plan to utilize the Theory of (Lighting) Everything to expand our LED Theatre Lighting setup to accommodate a larger venue. We’re considering a space akin to a mini-stadium for this project. The chosen venue is inspired by Bridlington’s Royal Hall, albeit with several modifications such as a wider stage and the addition of a second balcony.

I’ve adjusted the stage width because the original stage was roughly 10-12 meters wide, according to a non-scaled plan with no precise measurements. The extra space was occupied by a dimmer room, which is now obsolete in its current form due to the switch to LED lighting, and a dressing room, which would be relocated in my Carnaby Production House Project. Should a show or event necessitate a narrower stage, we could simply draw curtains on both sides to effectively reduce its width. The removal of the upstairs dressing rooms also gives us the space to have a place to fly our bars out hiding any set pieces.
Rigging
The rig will feature two primary areas: the stage and the auditorium. Before delving into the specifics of these areas, it’s important to note that each truss in the venue will be mounted on motorized hoists. This allows for greater flexibility in rig design, which you’ll notice is somewhat unconventional in my plan. The motorized hoists not only provide more options for truss placement but also simplify the fixture rigging process.
The system implemented at The Spa was quite unique. Since the motors were concealed in the ceiling, it necessitated a Deadman Switch at each suspension point within the ceiling void. This meant that moving a truss required at least two people, with a third person needed for rigging or focusing tasks.
The goal is to simplify the workflow by keeping an open ceiling, which enables the rig operator to quickly spot any problems before repositioning a truss or tweaking a mount point. This approach is akin to the setups used in touring productions or temporary installations.
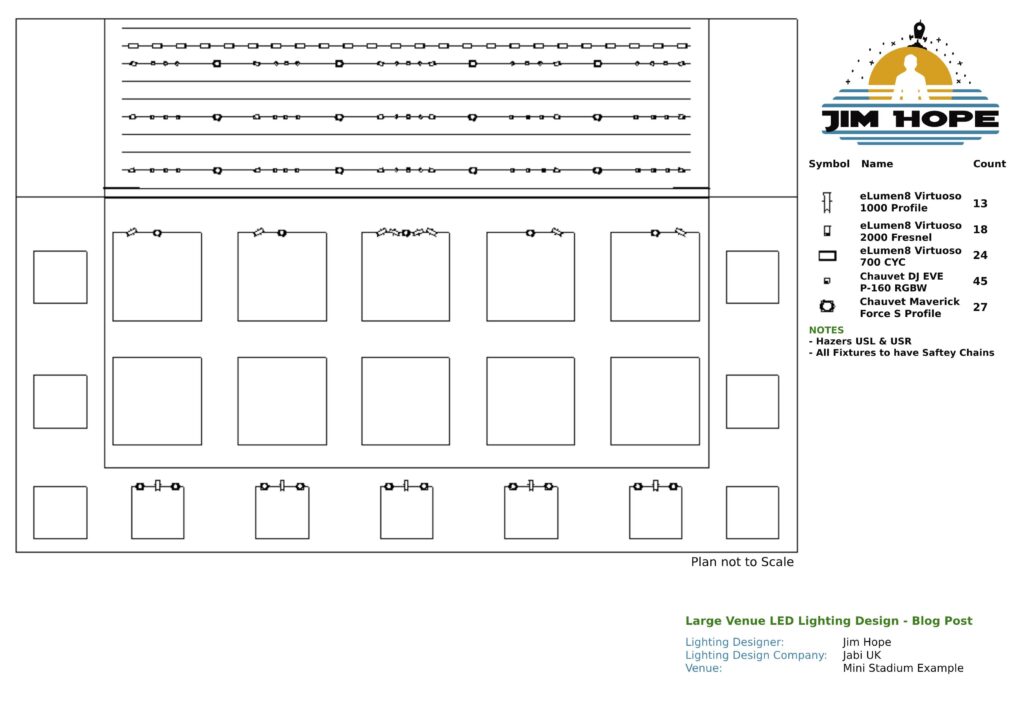
The stage will feature ten lengths of 2-point/ladder truss spanning its entire width. Three of these trusses will serve as supports for hanging fixtures. The foremost truss will accommodate a large header, concealing the space between the truss’s hanging point and the ceiling, ensuring the stage’s front remains neat. The furthest truss from the front will support either a cyclorama or an LED wall. The other trusses will be utilized for suspending legs, drapes, or various set pieces that can be raised or lowered as needed.
The auditorium is also slit into two areas:
The first setup involves the area that encompasses the space above the balconies. Suspended over this balcony area will be eleven squares, each measuring 2 meters by 2 meters, constructed from a 2-point truss. These trusses will primarily serve to add decorative lighting that will illuminate the auditorium. However, I will also mount a few lighting fixtures that will add some front lighting to the stage.
Finally, the primary section of the auditorium, situated above the dance floor, will feature ten 4×4 meter squares constructed from a 2-point truss. They will be organized into two rows of five. The foremost section of the first row will serve to provide front lighting for the stage, while the rest of the truss structure will support various fixtures. These fixtures will contribute both to the decor and to the visual effects, encompassing everything from moving heads to LED Parcans.
The Fixtures
I plan to repurpose the fixtures from my Theatre Rig, which includes the Virtuoso 2000 Fresnels, Virtuoso 1000 Profiles, Virtuoso 700 CYCs, CYC600 RGBW 150W floods, and Maverick Force S Profiles. A major advantage of this approach is the compatibility of fixtures across different spaces.
I’m also incorporating LED Parcans into the setup. I’ve selected the Chauvet DJ EVE P-160 RGBW, priced at approximately £391.50. Although they lack the RGBAL colour mixing feature of the Virtuoso fixtures, it’s not a concern for my purposes. These lights are intended to enhance the haze with splashes of colour and to be utilized for effects and chases, rather than for overall wash lighting.
Lighting Design
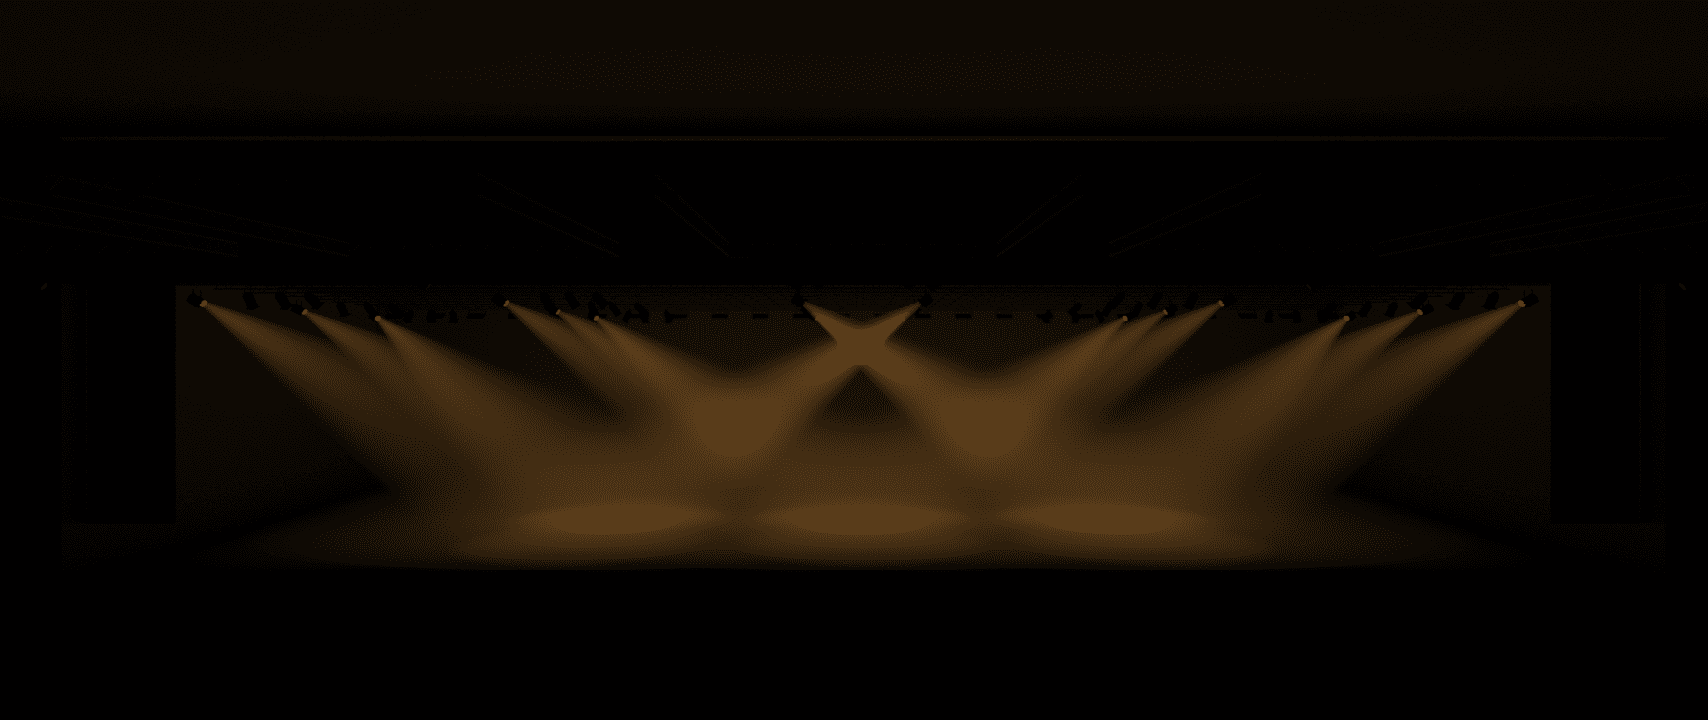
Moving on to the exciting part: plotting the lighting design. Since I don’t have access to a physical space similar to my design, I’ll employ Blender and various CAD software to simulate the environment. This approach may result in fixtures that are not perfectly aligned as they would be in reality, but they should be a close approximation.
Main Wash
To begin with, the Front-of-House Wash is designed to be efficient and versatile. Similar to the theatre rig, there’s no necessity for numerous washes since each fixture is capable of colour mixing. The wash consists of two segments and utilizes two varieties of fixtures. For the front-of-house segment, we’ll employ Virtuoso 1000 Profiles, selecting lenses based on their specific position within the rig. On the other hand, the stage fixtures will comprise Virtuoso 2000 Fresnels.
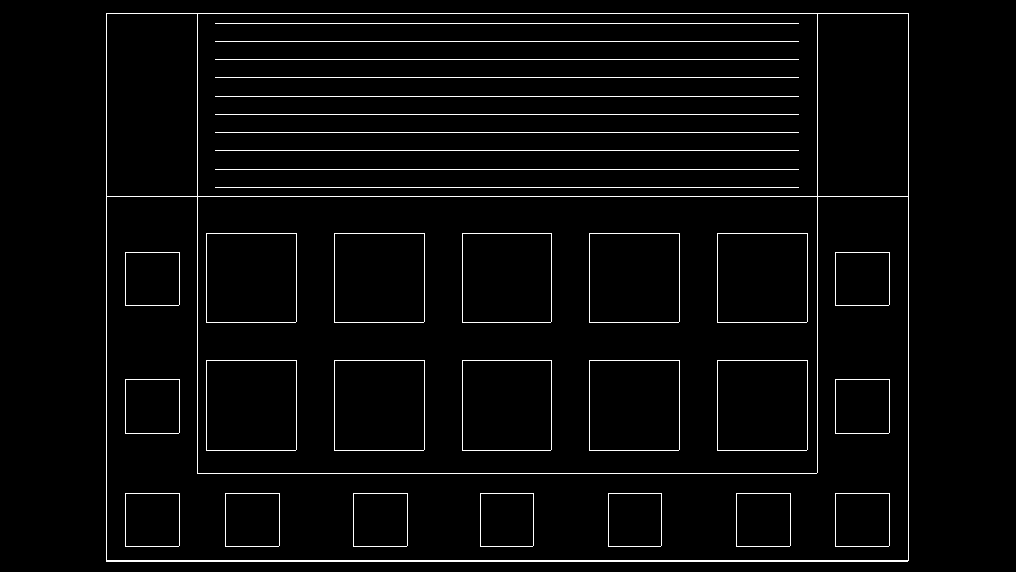
Now that we know the fixtures we’re using, let’s dive in. We’ll begin with positioning the Fresnels above the stage. As you can see in the image above, there are six fixtures mounted on each bar. The trio of fixtures on the left are aimed towards Stage Left, while those on the right target Stage Right. Additionally, I’ve directed the lights on the back bar forward to serve as a backlight or hair light.
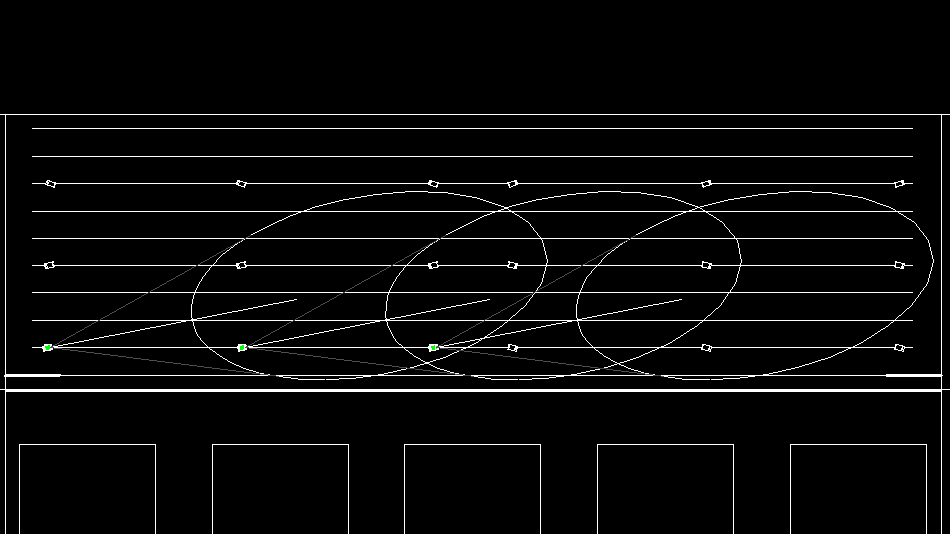
Given the stage’s width, a single fixture won’t suffice to cover an entire side, so I’ve arranged for the beams to overlap, ensuring coverage across the opposite side of the stage. There’s a slight gap, but it will be filled by the profiles out front.
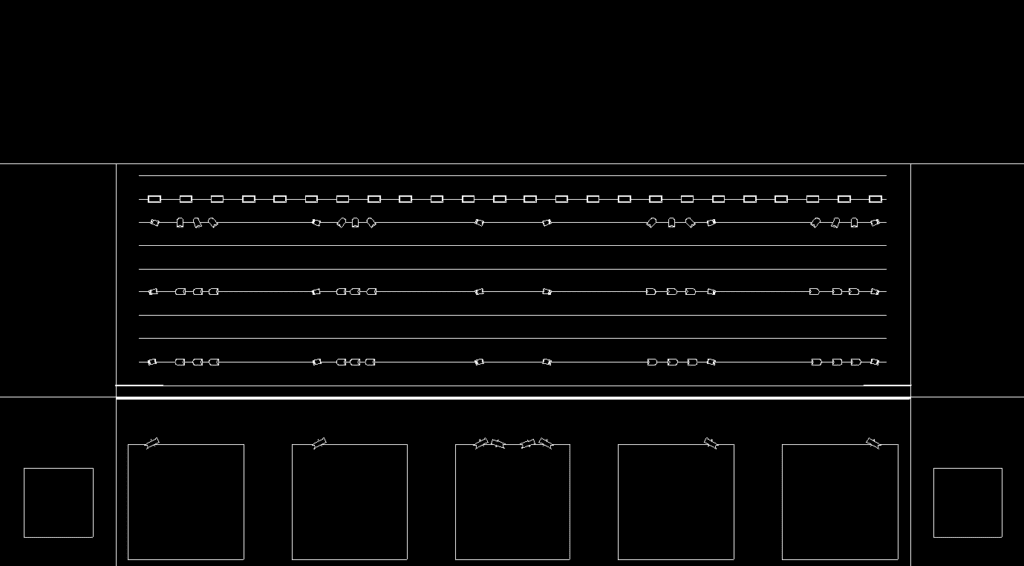
Now it’s time to add the Front-of-House fixtures to the wash. all of these fixtures are Virtuoso 1000 Profiles but the ones just in front of the stage will have 25-50 Degree variable lenses whereas the fixtures at the rear of the auditorium will have 15-20 Degree variable lenses.
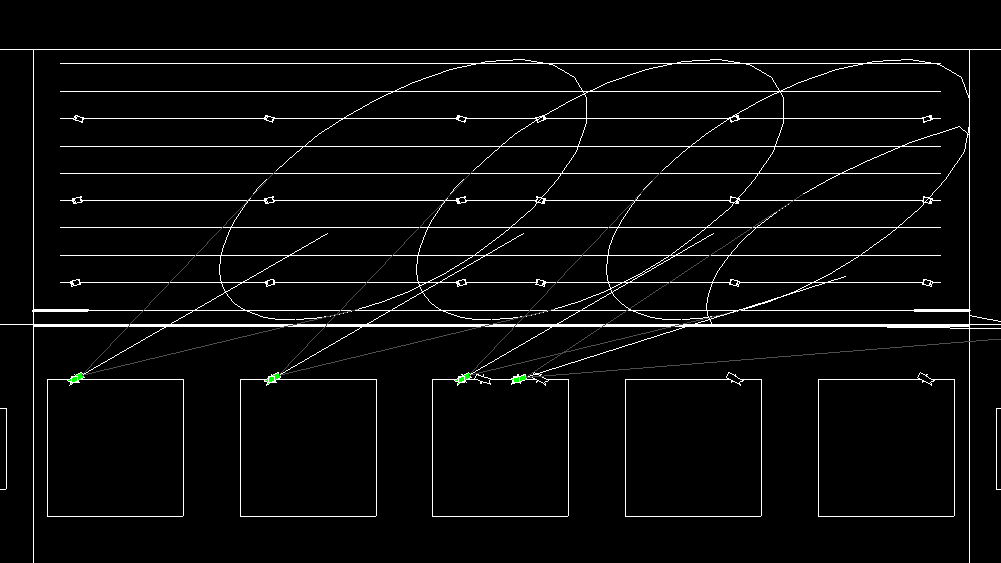
This time, we have eight fixtures positioned at the front of our square trusses. All except for the central two should align with the fresnels in front of them. The additional two fixtures should be placed between the two profiles on the central truss. As with the fresnels, we’ll distribute the beams across the stage, utilizing the fourth and fifth profiles to fill the gaps at the edge of the stage.
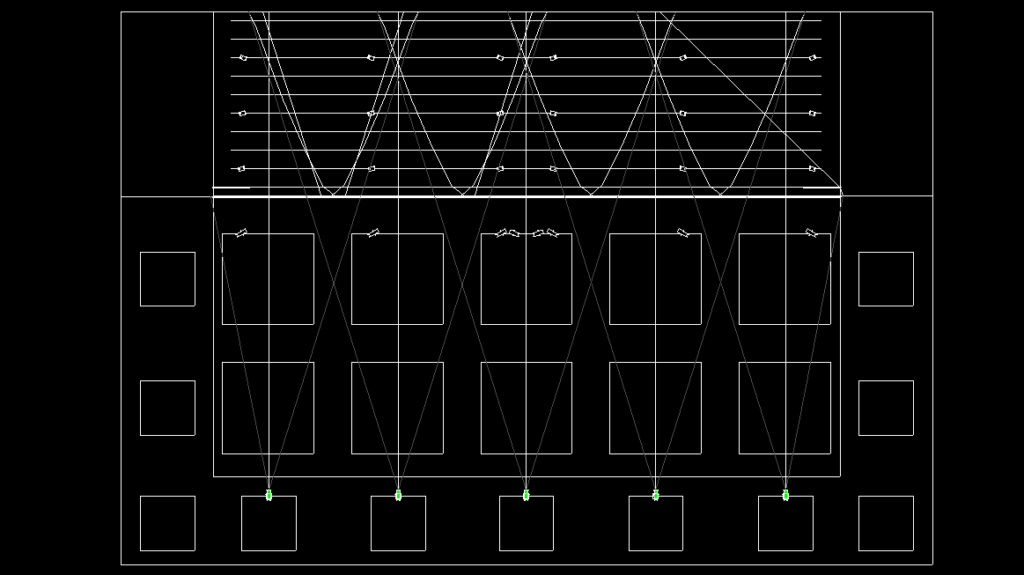
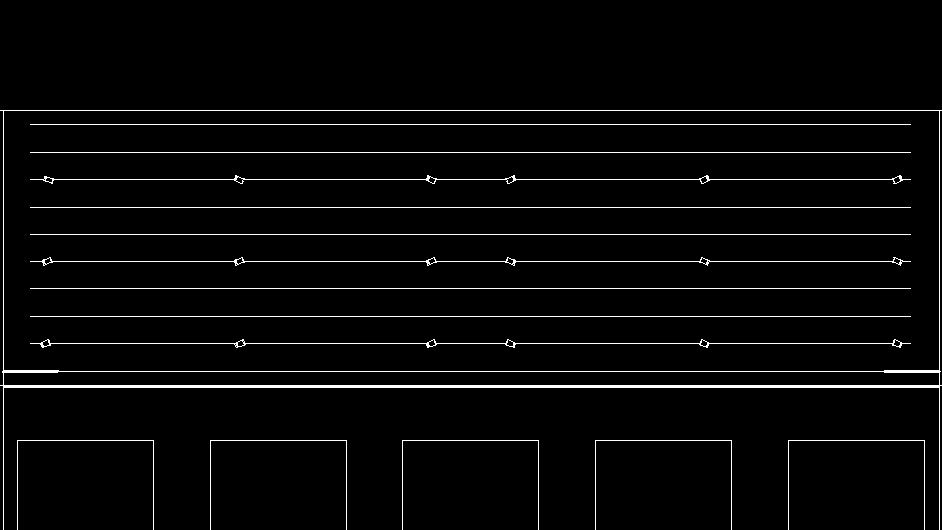
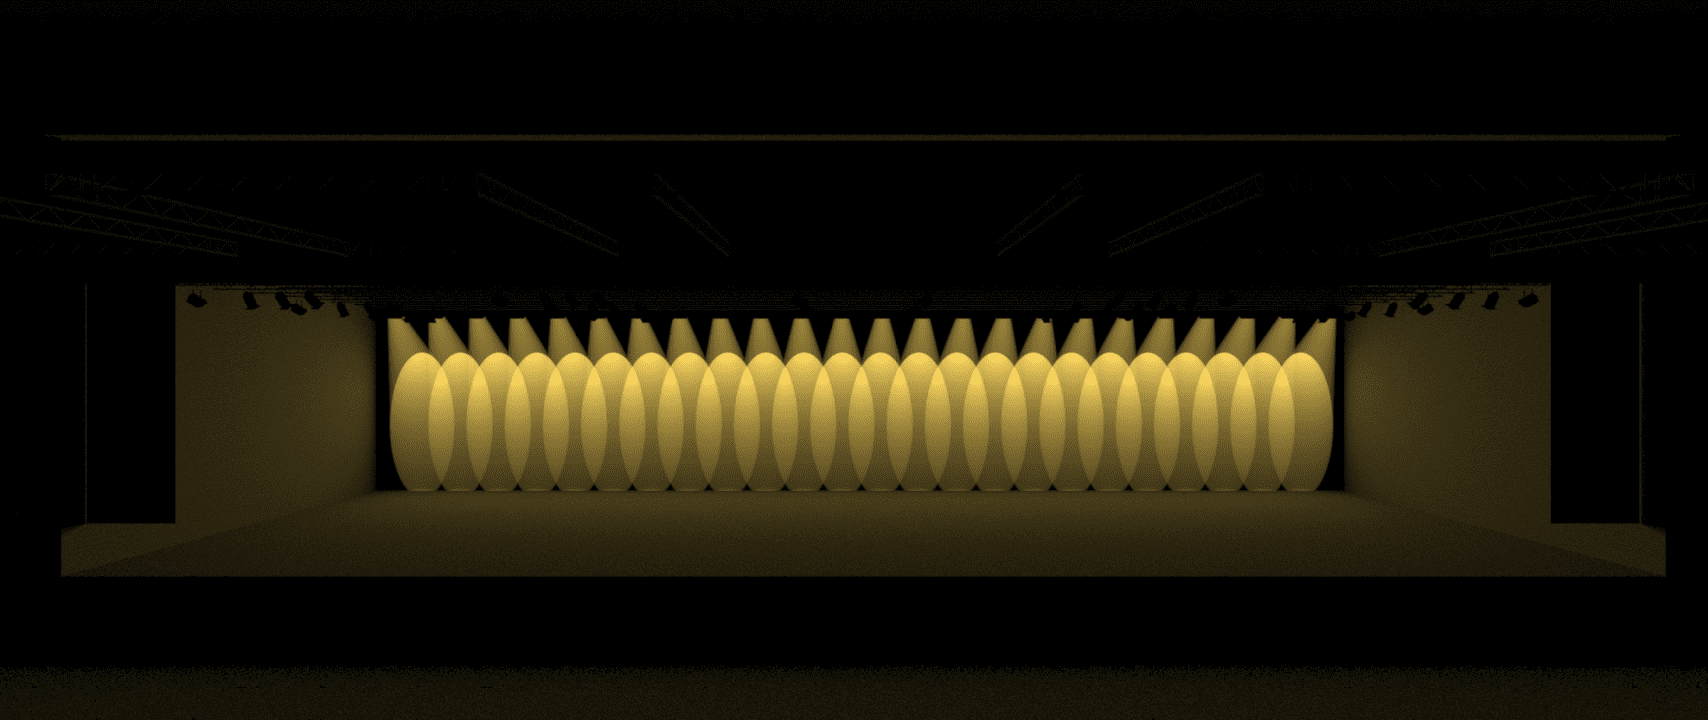
Finally, it’s time to install the last profiles for the wash. Instead of cross-lighting, I’m directing them straight towards the stage. As depicted in the image above, I’ve positioned one profile at the centre of each truss, ensuring ample overlap on medium zoom to cover the stage area. It’s important to adjust the shutters to confine the light strictly to the stage, preventing any spillage.
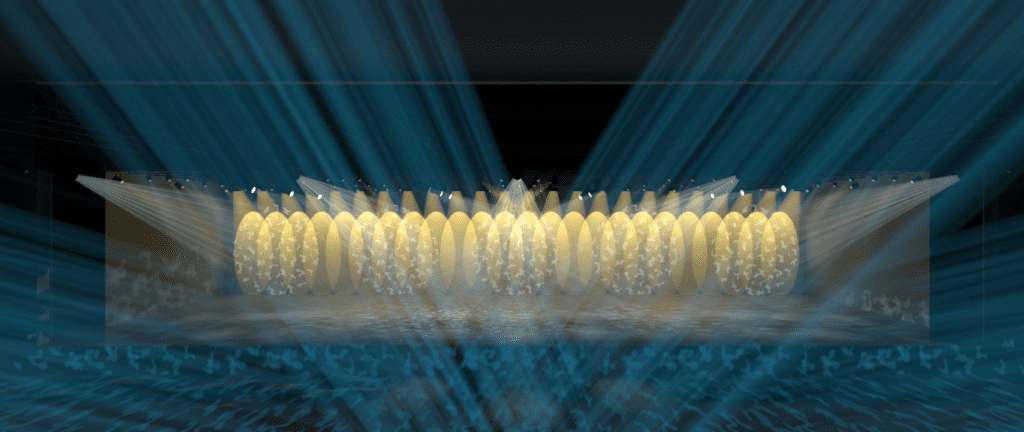
The CYC
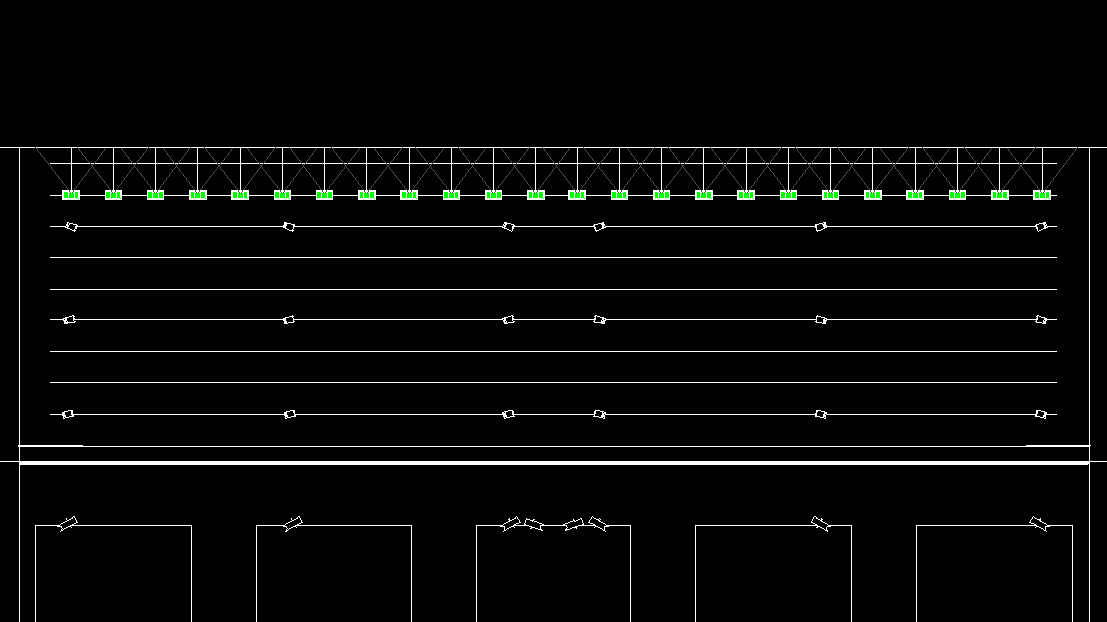
Lighting the cyclorama is similar to the theatre setup, but additional fixtures are necessary. For the current layout, 24 Virtuoso 700 CYC units are distributed evenly across the truss in front of the cyclorama. This arrangement would need some adjustment if it were to be used in a real space, as my software does not include these specific fixtures, leading me to use the closest available substitute. The Virtuoso 700 CYC has a beam angle of 70°, significantly wider than the 35° beam angle of the substitute, this would mean that you would need half the number of fixtures for adequate coverage. I’ve kept them in the plan though as when I come to make renders later I’ll still have that even coverage rather than gaps.
Parcans
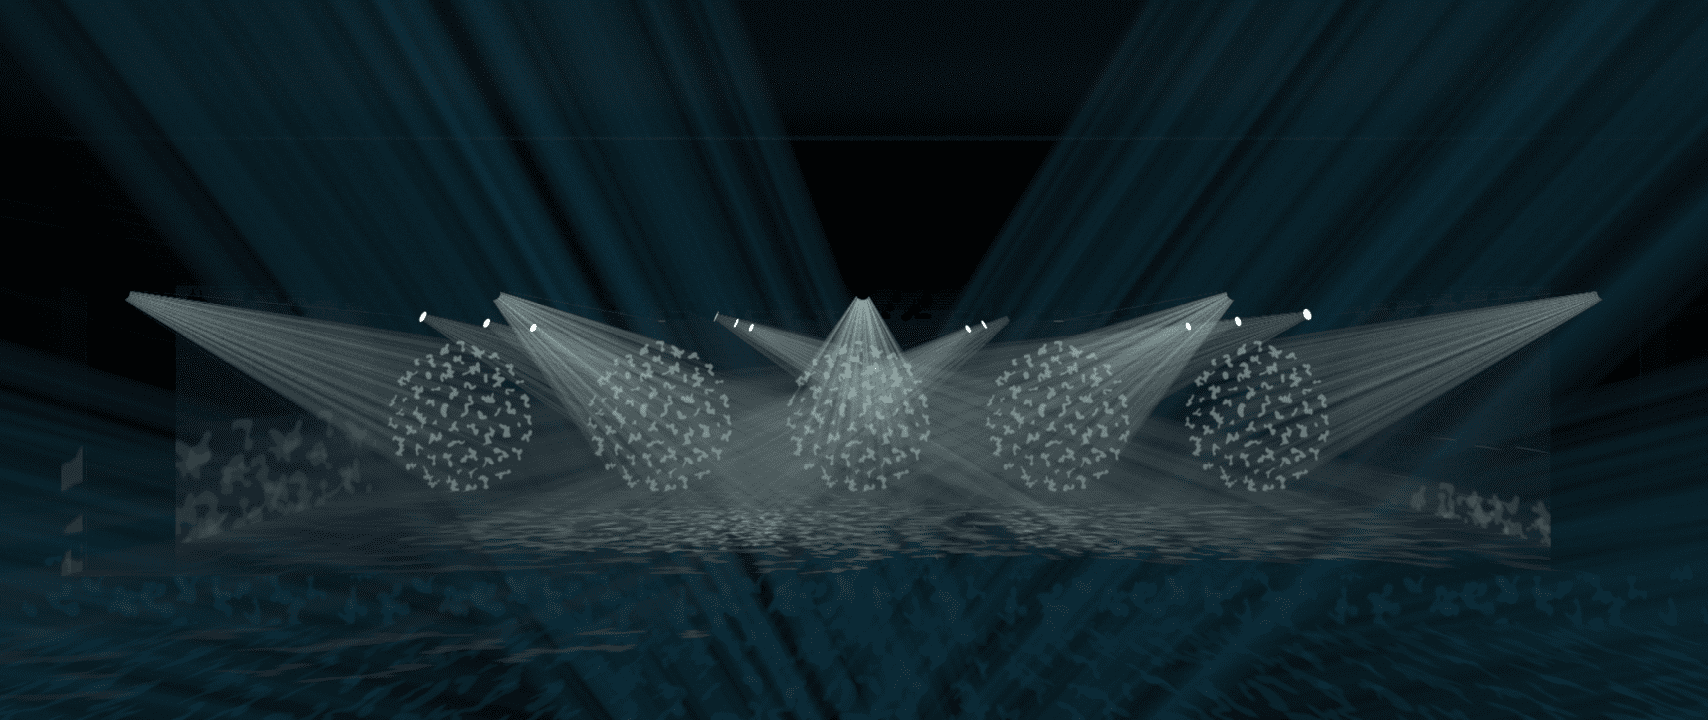
Now that the main wash is out of the way, let’s start adding the fun stuff. I’m inserting parcans in groups of 3 across the stage area of the rig. Using the three parts together you’ll get a great fan effect especially if you aim them about 10-15 degrees away from each other.

I recall utilizing about 60 Par 32 fixtures in a summer show years ago for a Take That Medley (which occasionally pops back into my mind), and I had arranged them in random clusters of five. They looked incredible. It’s quite remarkable how stunning a simple lamp can appear when paired with others.
This isn’t the last we’ll see of the humble Parcan keep an eye out later on when we cover the audience lighting
Moving Heads
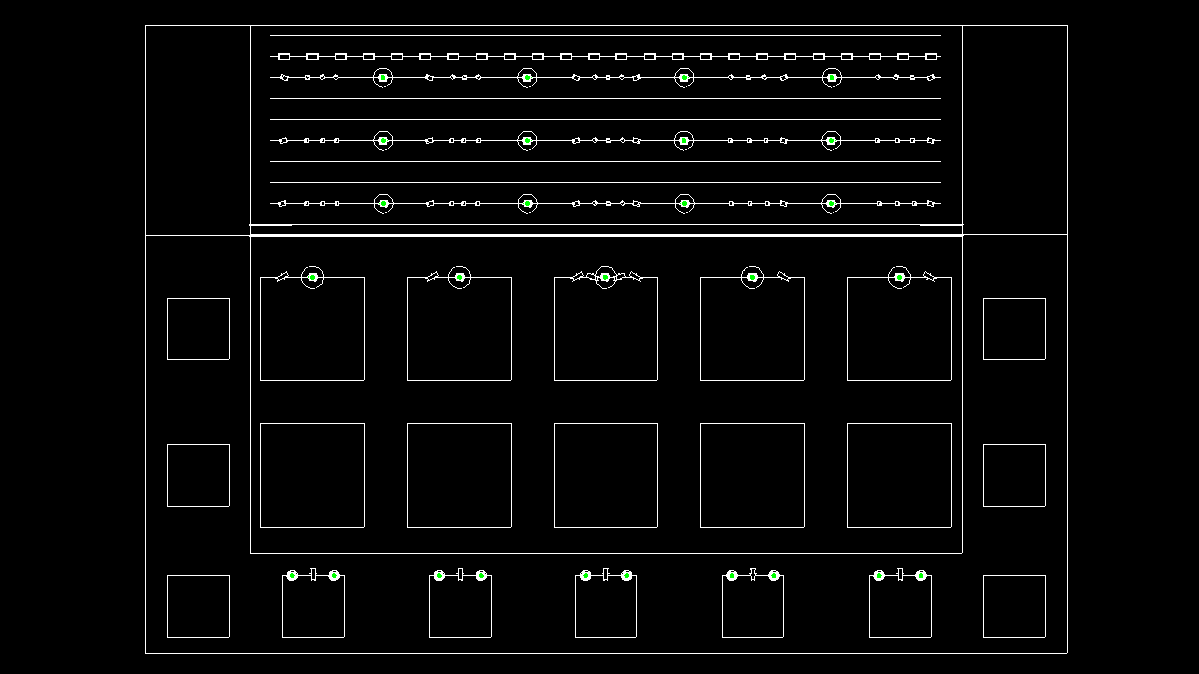
Now that we’ve introduced some static colours, let’s bring in some dynamics. Similar to what I did with the Theatre Rig, I’m utilizing the Maverick Force S Profiles for the moving heads. These fixtures are versatile, offering the best of everything. Although they’re called profiles, they can still produce impressive beam effects with the iris and zoom features, and they can also create a broad wash effect when the zoom is combined with the frost function.
I’ve installed four additional fixtures to each of the stage bars, interspersed among the existing groups of fixtures, and placed one fixture at the centre of each front square truss. Additionally, two fixtures have been added to the outer edges of the trusses at the auditorium’s rear. The fixtures above the stage and on the front trusses will ensure excellent coverage, while those at the back can enhance the stage coverage or be aimed at the audience. Since the rear fixtures are in pairs, we have the flexibility to split their focus—half on the stage and half on the audience.
Summary
So that’s my concept for an LED lighting setup suitable for a large venue, which I believe serves as a solid foundation for further customization for various performances—a topic I plan to explore in a future post.
Moving forward, you could enhance the rig by adding more fixtures or incorporating a ground package at the front, back, or sides of the stage, depending on the specific event requirements. I’m particularly fond of the idea of integrating LED walls around the set to serve as legs and borders, which is another aspect I aim to delve into once I expand my knowledge of LED walls.
I’m curious about your opinions on my LED lighting rig design. Would you alter the layout, swap out any fixtures, or choose a different venue altogether? Your feedback is invaluable, so feel free to share your thoughts either in the comments section or via the social media post that led you here.
Leave a Reply